
If you look closely at commercial photographs, you will probably notice that they rarely contain random power lines or vehicles in the way of the shot. You’ll probably also notice that the models always have flawless skin, and iconic tourist locations are tourist-free.
Photographers don’t spend all of their time searching for perfect-looking models or visiting deserted cities. Instead, they typically achieve this look by removing the unwanted objects after they have already taken the picture. They do this by using Cloning Tools in photo-editing software, like Photoshop.
This series will show you how to use Photoshop’s Cloning Tools to retouch photographs by removing unwanted objects. In Part 1 of this series, you will learn about what the Cloning Tools are used for and how you can use them to get rid of imperfections. You will also learn about the various options that you can utilize in order to achieve high-quality retouching.
Why it’s possible to remove an object from an image.
Say you’ve taken a photograph that contains an distracting lamppost. How can you get rid of it? If you delete or erase the lamppost, won’t the area that’s leftover be blank? How is Photoshop supposed to know what was behind an object you photographed?

But won’t it look obvious if you just replicate the same area?

Cloning Tools
Think about it this way: most photographs have large areas that are similar in appearance. Using Cloning Tools, you can easily copy several bits from different areas of the photo that look similar to the areas around the unwanted object, and patch them together, Frankenstein-style.
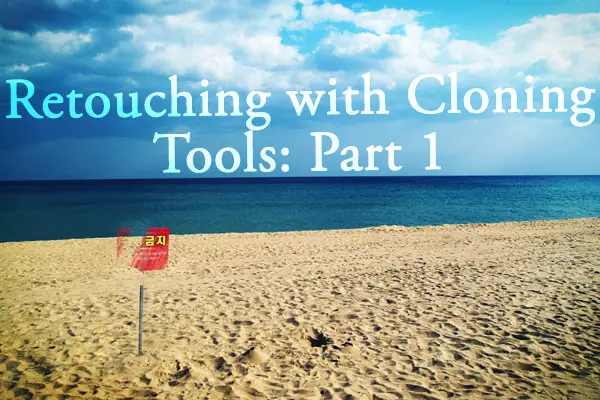
Take this beach photograph for example.

Say you want to remove the red sign from the image. You can do this by sampling various areas of sand and ocean, and drawing them on the top of the sign.


So how does sampling work in Photoshop?
Sampling is what happens when you tell Photoshop which area of the image you want to copy. It’s kind of like saying, “Hello, Photoshop. Here is a sample of what I want it to look like when I draw over the image.” For most Cloning Tools, all you have to do is Alt-Click on the area you want to sample, and then click the area you want to copy it to.
Because you are human, and humans make mistakes, it is important that you always do your retouching on a new layer (Ctrl+Shift+N). That way, if you mess up, the original image won’t be affected.
However, if you create a new layer, and then attempt to sample from it, nothing will happen, since the new layer is currently blank and there is nothing there for you to copy. Fortunately, the Cloning Tools have an option at the top called “Sample All Layers” that will allow you to pull the information from every layer. If you check the box, Photoshop will use all of the layers to figure out what to sample.


To learn more, check out Retouching with Cloning Tools: Part 2, which will teach you about each Cloning Tool in Photoshop: Spot Healing Brush Tool, Healing Brush Tool, Clone Stamp Tool, and Patch Tool. You will also learn about the differences between each feature and what types of images they work best for so that in the future, you can pick the right tool for the job. See you in Part 2!
()
发表回复