
Have you ever taken a photograph of something beautiful only to later find that the resulting image lacks the vivid colors and energy that were present in-person? Fortunately, Photoshop offers a plethora of color correction tools that can help you salvage images with defective color.

This guide will teach you how to utilize Photoshop’s color correction tools so that you can transform your lifeless photographs to match the beautiful memories inside your head.
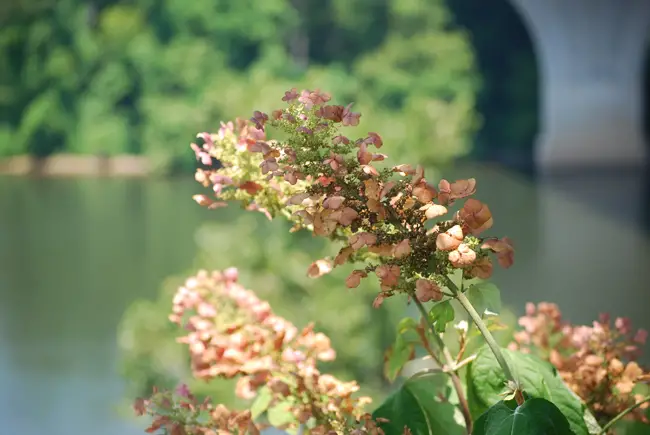
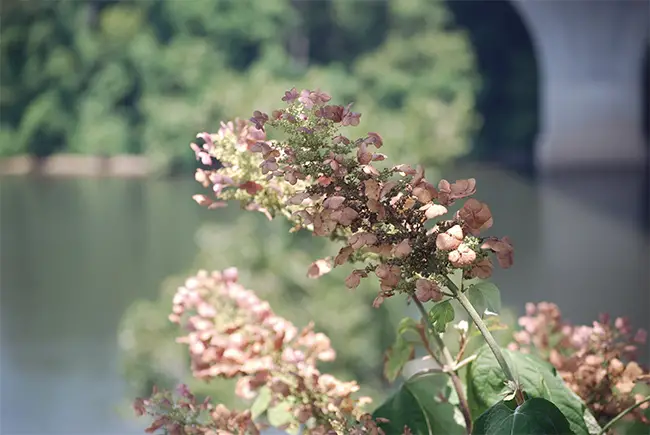
If you look closely at the photo below, you may notice that although the flowers in the image are pretty to look at, the colors and contrast are a bit dull. Everything in the photo appears to be tinted with a faded, yellow-green color.
Check out the following techniques that I used to correct the colors in this photograph.
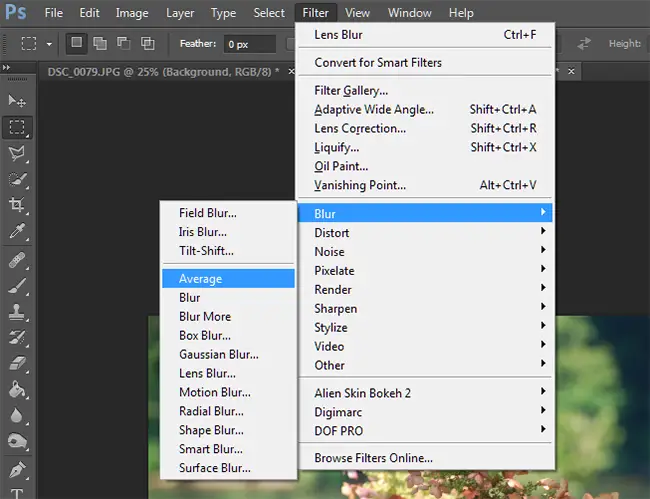
Inverted Average Blur Technique
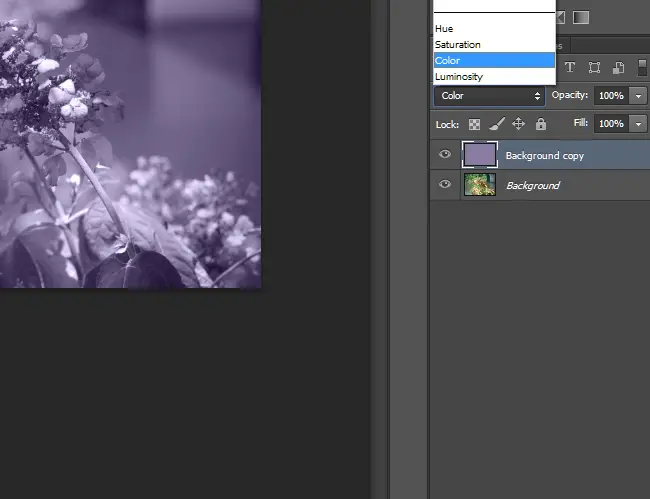
The Inverted Average Blur Technique is a trick I stumbled upon when I was first learning Photoshop. It is easy, quick, and very useful for correcting a photo that appears tinted or has too much of the same color. It involves taking the average of the colors in the photo, filling a layer with it, and changing the blending mode to color to balance out any tint that your photo may have.
1. Duplicate the background layer.


1. Select the Vibrance icon in the Adjustments window to create a Vibrance / Saturation Adjustment layer.
()
发表回复