
Black and white conversion is a mysterious process. There are many ways to do it and none is objectively any better than any other for every photo. So, these are guidelines, really, in the spirit of a recipe. But unlike following a recipe for baking a cake, we are not all trying to create the same photo. Keep in mind that every photo is different and will require slightly different values for any image editing technique.
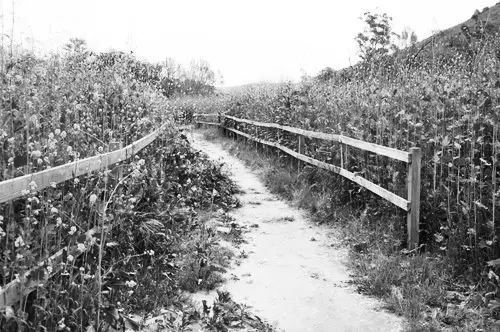
Here’s a photo I took on a hike recently with my kids:

To compare with the channel mixer conversions below, first I’ll show the results from a simple average color desaturation. This is a simple conversion, it’s fast, and it’s very easy to do. In Photoshop it’s Image | Adjustments | Desaturate. In GIMP it’s Color | Desaturate.

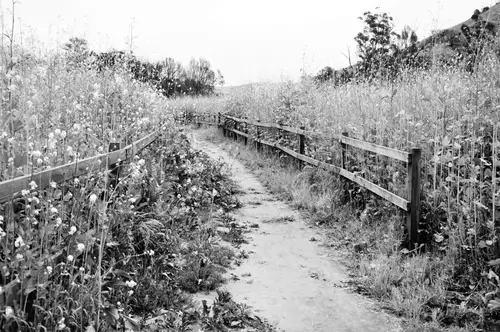
Many people, myself included, feel that this method often results in lifeless photos. If you’re going to convert this way, you’ll be doing yourself a favor if you also boost the contrast after the fact:
I think the simplicity of just desaturating a photo and boosting the contrast has a lot of appeal. It’s arguably the most straightforward way to do a black and white conversion. And again, this is a subjective process. It’s a success if you’re happy with the results.
Before we go on, a tiny bit of channel mixer theory:
Every digital color photo is made up of red, green, and blue data. In JPG images, these colors combine in varying levels from 0-255 for each pixel, resulting in approximately 16 million different color combinations. The channel mixer works by manipulating the red, green, and blue in a photo. The mixer allows you to change the overall impact of each channel on the photo as a whole. By checking the “monochrome” box, you are asking the mixer to “flatten” those color channels into a single channel which is represented as a level of gray from 0-255: black and white.
So, for example, if you set the red channel to 100%, the blue channel to 0, and the green channel to 0 (100/0/0), you will get a black and white photo where the gray level for any pixel is equal to whatever the red level was. If you set the values to 50/50/0 then the gray level will depend half on the red and half on the green. Here’s an example:
Here’s another example with the same starting photo:

Last example and the version I like the best:

The channel mixer can be mysterious because it’s difficult to visualize the result. My recommendation is to simply play around with it until you find values you like. After a while, you’ll begin to get an intuitive feel for which values you prefer for different kinds of subjects and colors in any given photo. But don’t let that stop you from experimenting. You may surprise yourself by trying unusual mixer values. Above all, don’t paralyze yourself trying to achieve the mythical goal of a “perfect” black and white conversion. ()
发表回复